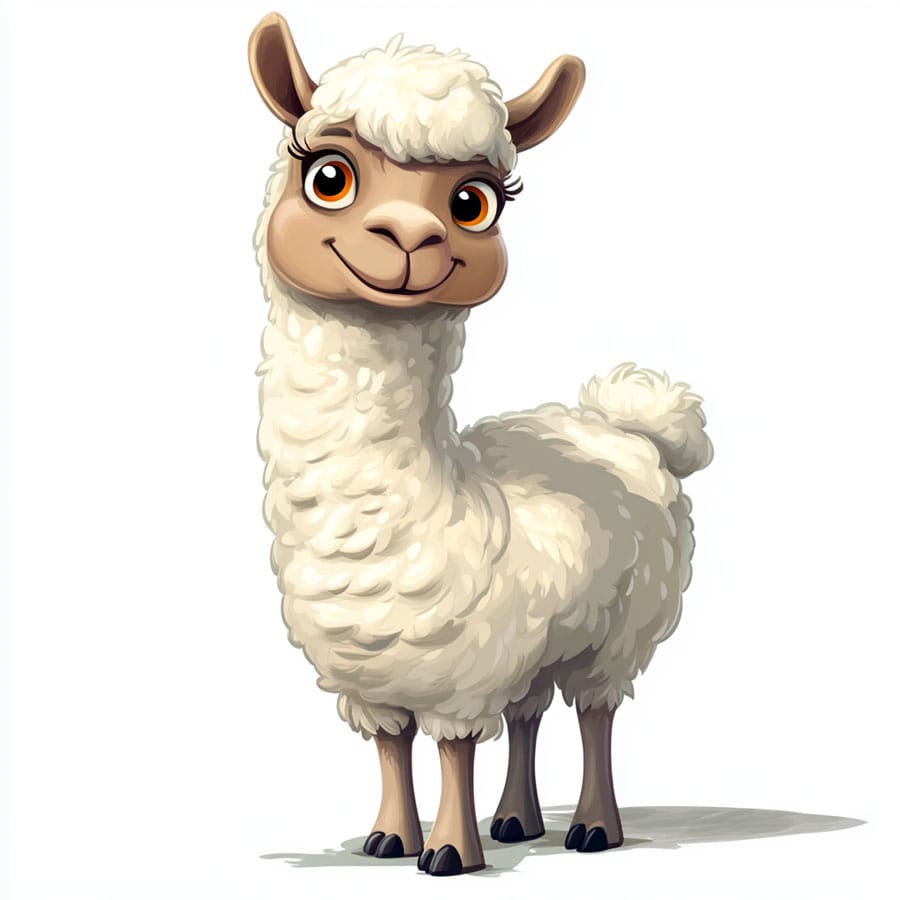
Step-by-step tips and tricks for coloring your llama:
Start by gently coloring its entire body with a light color, such as white, beige, or a very pale brown. Don’t press down hard with your pencil.
Now, think about where the light would hit it and where there would be shadows. You can leave the parts where the light shines most directly lighter or even mostly uncolored. On the other hand, in the areas where there’s shadow, like under its bangs, in the folds of its body, or along the edges, you can apply another layer of the same color, pressing a little harder, or use a slightly darker shade.
To make the lines between the colors less noticeable, you can carefully use your finger or a blending tool to gently rub where the colors meet. This will blend them and make them look smoother.
The flowers on its head can be any colors you like! To keep them from looking flat, color the edges of each petal a little darker than the center. This will make them appear to have volume. Color the grass in the background with many thin, upward strokes, using different shades of green and yellow. Paint the mountains with grays, blues, or even a bit of purple. Don’t color them all one color; first apply a light layer and then, in some areas, a darker layer so they look like they have illuminated and shadowed parts.
If you want to make the llama’s fur look more interesting, try adding small layers of different light colors. And remember that leaving some areas white can also be a way to show light. Have fun coloring your llama!
Want to learn more about llamas? Click here