Free coloring pages of Pharaoh of Egypt

Qualify the resource:
Thanks for tu opinión!

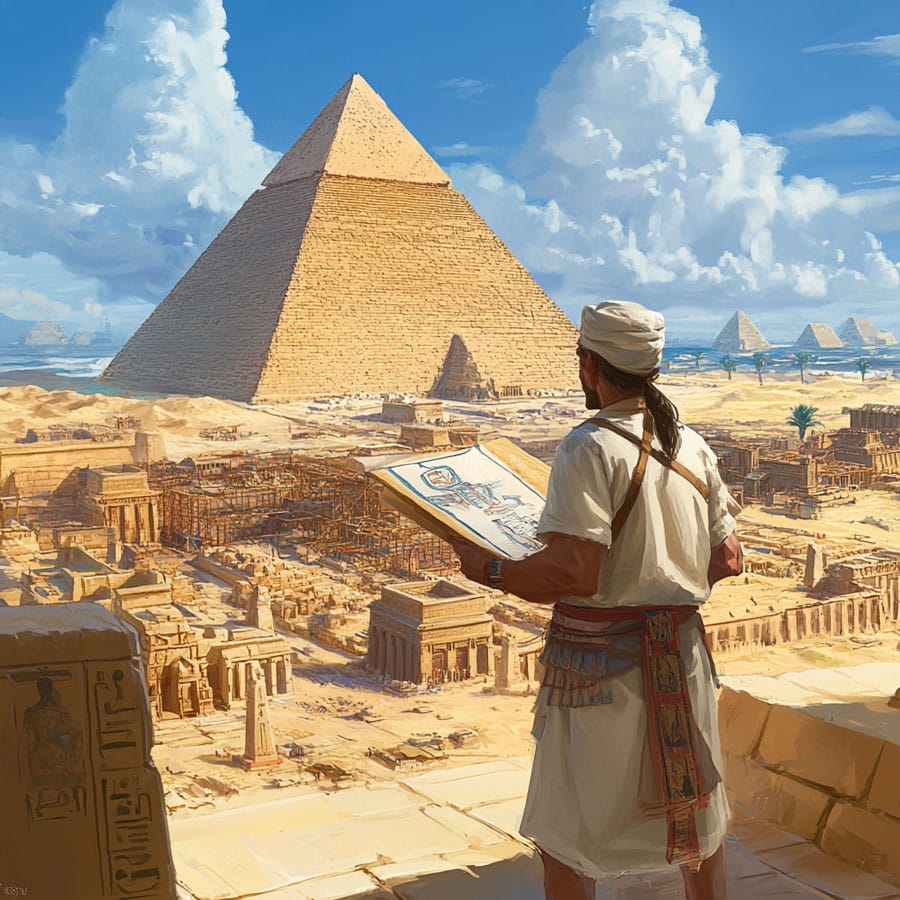
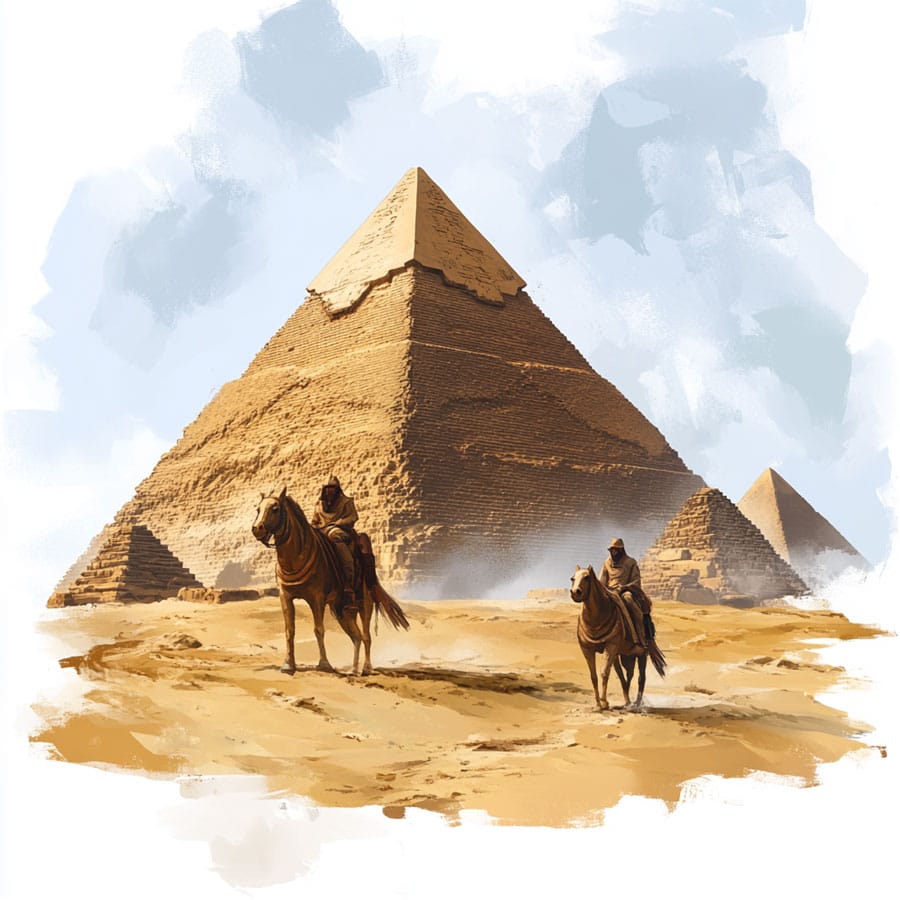
In ancient Egypt, the pharaoh was much more than just a king. He was seen as a god on Earth, the bridge between the heavens and the people. Every piece of his clothing and jewelry carried deep meaning. The staff symbolized power, the headdress represented the order of the universe, and the colors were never chosen at random. Blue evoked the Nile and the gods, gold stood for the eternal and divine sun, and red symbolised strength, energy, and protection.

Coloring this picture of an Egyptian pharaoh is like reconstructing something that existed thousands of years ago, filled with symbolism. It’s about observing, thinking, and making decisions—just like the artists who decorated tombs, temples, or sarcophagi. They knew that every line and every color told an important story. Here, detail matters, but so does intention.

Cartoon drawing for colouring of a Pharaoh of Egypt
Did you like it?
Thank you for visiting ColoringColorea! love Share our site with your friends!

How to Color the Pharaoh Step by Step

  1. Skin: Start with a base tone between light brown and caramel. Use soft, circular strokes to avoid harsh lines. Next, shade areas that don’t usually get light—under the chin, one side of the neck, and the side of the face—with a slightly darker brown. If you have a white pencil or a blending tool, use it to blend the colors and smooth the transitions. This will make the skin look more realistic and three-dimensional.
  2. Face (eyes, lips, eyebrows): Leave the whites of the eyes untouched, and use black or dark brown for the pupils. For extra depth, add a touch of blue or light violet to the upper eyelid. For the lips, a muted red or soft brown works well. Use medium brown for well-defined eyebrows, following their natural arch for expression—don’t make them flat.
  3. Headdress (names): This is a key feature. The nemes usually has alternating blue and gold stripes. For blue: start with a strong shade (like cobalt), and use navy for the shaded or receding areas. For gold: don’t use just yellow. Mix yellow with touches of orange and a bit of light brown for warmth and realism. Leave highlights with white or an eraser to create a reflective effect.
  4. Collar and Belt: Use vibrant colors here: deep red, turquoise, emerald green, and gold. Color each section carefully, staying within the lines. Then, add a soft shadow under each piece to make them stand out from the body. Markers work well for these details, but use them only in small areas to avoid covering up the shading.
  5. Clothing: Even if it looks white, don’t leave the outfit uncolored. Use very light gray or bluish gray to show folds. In shadowed areas (under the belt, near the elbows, between the legs), deepen the color a bit more. For a warmer effect, add a touch of sand or tan at the bottom of the kilt. Add depth while keeping the overall harmony.
  6. Staff: Give it an antique gold tone. Mix yellow with soft brown as a base. To make it look rounded, shade the sides more and leave a lighter line in the center to mimic reflected light. On the curved tip, play with white highlights or uncolored areas to simulate polished metal.
  7. Sandals and Legs: Use the same skin tone for the feet, but add extra shading on the toes and ankles. Sandals can be dark brown, leather, or aged gold. Add a shadow on the ground just beneath the feet to anchor the figure in the desert.
  8. Background: Pyramids, Desert, Sky
    • Pyramids: Base them in beige or sandy gray. Add depth by darkening one side.
    • Desert: Use ochre yellow with light brown. Don’t make it uniform—use loose strokes in different directions to mimic wind-blown sand.
    • Sky: Very soft blue at the top, fading to white near the horizon.
    • Clouds: Don’t color them completely; just outline with light gray or very pale blue.
  9. Light and Shadow: Imagine the sun is above and to the right. Everything on the left side—the left side of the face, left arm, kilt, and staff—will be in shadow. Use a darker shade of each color for these areas. Where the sun hits directly, use white or leave a thin line uncolored to create a highlight.

Techniques by Material

  • Colored pencils: Work in layers. Start with a soft base, then a more intense layer for depth, and finally add shadows. Use a white pencil to smooth transitions.
  • Crayons: Press firmly for bold colors. To blend, layer colors or use heat (like a warm spoon or rubbed paper).
  • Markers: Always start with light colors. If you add another color on top, wait for the first to dry to avoid smudging.
  • Mixed media: Very useful. For example, use markers for the background (sky or desert) and pencils for body details and shading.

Ideas para colorear tu dibujo de Pharaoh of Egypt

coloringcolorea
Recursos educativos y dibujos para colorear para niños y adultos

Educational
resources

Natural and Social Science

Geography

Language and Literature

Mathematics

Music

Games and Pastimes

Coming soon

Did you like it?
Thank you for visiting ColoringColorea! love Share our site with your friends!